Showing posts with label Yum. Show all posts

Wednesday, March 14, 2012

Happy Pi Day!

Today is the 14th day of March, therefore the date is 3.14, therefore it is Pi day, therefore I have an excuse to make pie.

This afternoon I whipped up a Nutella Oreo Pie. Also known as a NOP. You've never head of a NOP? Well to be quite honest, I hadn't either until this afternoon when I looked in my fridge and noticed that I had some cream cheese that needed to be used. And it wasn't any cream cheese, it was Panera Hazelnut Cream Cheese.


And you know what else I had in my pantry that had hazelnut? Nutella. And that is how the NOP was born. I almost named it Orella Pie but I was afraid people would mispronounce it.  In order to get the O in NOP, I needed an Oreo pie crust, so I ran walked up to Price Chopper to get one.

I'm going to take a quick minute to tell you about my experience on the way to the grocery store today, so if you are more concerned about the pie, skip the following paragraph. If however, you care about my life and death experiences, please read on.

 I live about a mile from the grocery store, and the weather is perfect, and my car is in the shop, so I decided to walk. I would ride my bike, but the back tire is broken, and I don't have anyone around to fix it for me, so I have to depend on my legs. (That is a plea for help should there be a handsome, single man near my age who just so happens to be able to fix tires and wouldn't mind being paid with NOP. It wouldn't hurt if he could also fix cars that make funny grinding noises as they turn.) Anyway, to get to the store, I take a short cut over a ravine (read drainage ditch) on a stone wall. So I'm balancing along this stone wall, and there in front of me is a garden snake. I startle easily, and so I jumped, but thankfully I have the reflexes of a cat and was able to maintain my balance without falling. This in turn scared the snake, so that it slithered away into the wall, and I was able to go forward in peace. I told Momma about the 4 foot snake that tried to attack me, and her reply was that garden snakes are usually only about a foot and a half long. So I can only conclude that this snake was the Shaquille O'Neal of snakes, or that my fright makes me exaggerate.

On to the pie. Here's what you need....

1 Oreo Pie Crust
8 oz of cream cheese
3/4 cup of Nutella
Splash of Vanilla
12 oz whipped topping
Oreos for garnishing (which leaves plenty of Oreos for eating, so be sure to get the Double Stuff)

First, mix the cream cheese & Nutella

Beat it really fast to incorporate as much air as possible.


Add in about 8 oz of whipped cream. (Leave enough to cover the pie at the end.)

And throw in a splash of vanilla because vanilla makes all baked things better.
 Pour mixture into pie crust.


Cover with remaining whipped topping, and add an Oreo garnish for good measure.

Refrigerate for a while, and then enjoy!

:j

Sunday, December 04, 2011

My Christmas Craft

Sometimes I get ideas for projects, and I think through it, and then I decide that I should wait until a more opportune time to paint my table or rearrange my guest room. Then there are other times that I decide I should paint a door to use for Christmas decor instead of clean my house, go grocery shopping, or work on photos. 

This is that door.

Yes, I should have used a level. Yes, I should have planned it out a little bit before just free handing the lettering. But I still love it.

In case you can't read it, it says...

In this home,
Christmas
is about
our Savior
laughing together
singing around the piano
Praising God
giving generously
showing compassion
sharing our joy
celebrating His birth
kissing under the mistletoe
blessing others
loving others
being kind to others
the manger
peace and hope
Family Time
Jesus.

:j

Saturday, November 19, 2011

Chocolate Chip Cookie Cake

Get ready, Internet, because this might just be the most amazing cookie cake you've ever experienced. I have had 2 guys tell me that if they weren't married, they would marry me based on this cake. I've had people tell me I should sell them and become rich. It's powerful, I tell you. So let's get started.

Start by preheating your oven to 375. 


Then go gather the ingredients because otherwise you'll have to run to HyVee in your workout clothes and everyone will stare at you because you are in capris and a tank top when it's 31 degrees outside. Not that I would know anything about that.

I know they say to mix all the dry ingredients first, but I don't do that. I put my 2 cups of butter flavored Crisco in my mixer and let it get beat to a pulp with 2 cups of brown sugar and 1 cup of white sugar while I mix the dry ingredients. 

(I was trying to be all Pioneer Woman on this tutorial and show you step by step, but it ended up as a mess. I don't know how she does it. So there are a lot of photos missing from this point on.)

So while the butter and sugar are blending, I sift 4 1/2 cups of flour, 2 teaspoons of baking soda and 2 teaspoons of salt into another bowl. (Confession: Sometimes I don't feel like using another bowl, so I just add it in at the end and skip this step.) Here's a photo of Kody because he sits there and begs the entire time.


Okay, so we go back to the butter and sugar mixture at this point. Keep scraping down the wet ingredients and let them get mixed in really well. You'll need to add 3 Tablespoons of vanilla (yes, 3 Tablespoons, that's key), 1 teaspoon of water and 4 beaten eggs.

Now you're ready to add in the flour mixture. Here's my trick to keep flour from getting everywhere. I take a tea towel, and wrap it around my mixer, leaving a little space in the back where I can spoon in the mixture. It works as a guard and I don't have to put any new attachments on.


Then it's time to add in 18 oz. of chocolate chips...at least. Throw more in if you feel like it. Add some M&Ms or nuts or Reese's Pieces. Whatever your heart desires. Mix them in well, and savor the dough goodness. (I am not responsible for you consuming raw egg by tasting the dough.)


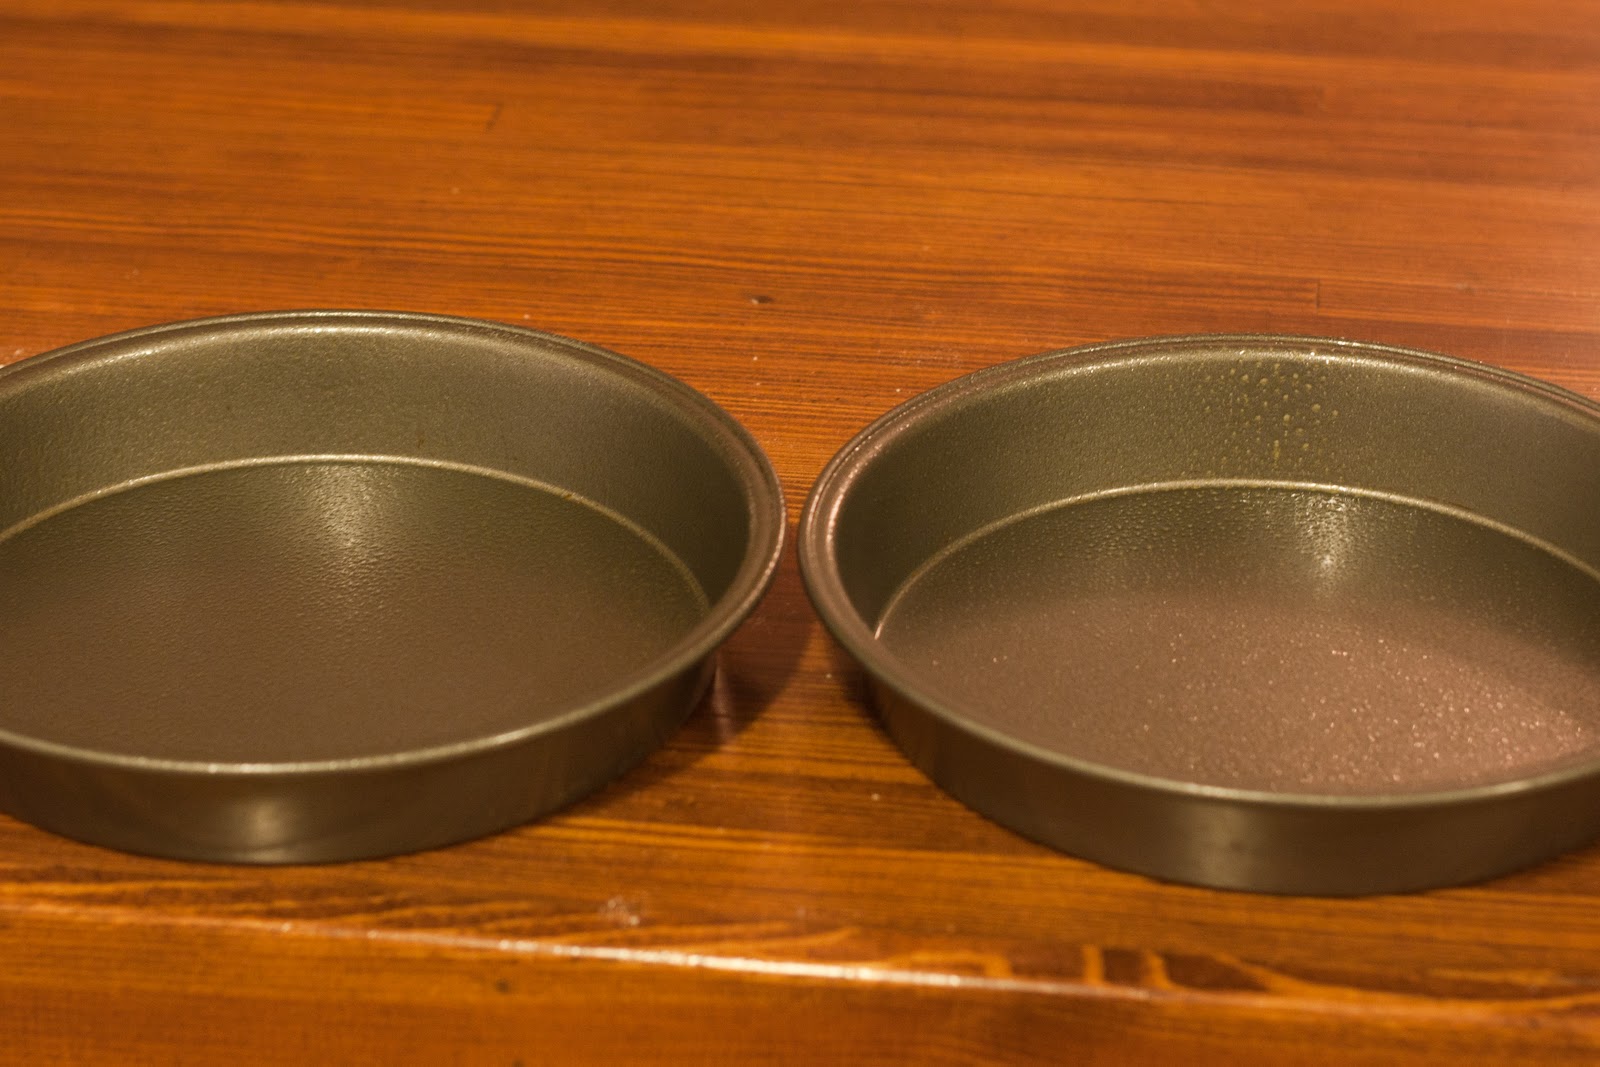
Then get 2 round pans and spray them generously with Pam spray. (Or the off brand equivalent because you're too poor to buy brand name.)


Spoon your mixture into the cake pans, but DO NOT fill the pans all the way. In fact my photo has just a little too much dough. DO NOT spread it all the way to the edges...unless you like really crispy edges, then I guess you could.


Pop them in the oven for 15-18 minutes. Don't over bake them. They should still be a little jiggly when you take them out. One of my friend's moms told me that you know cookies are done when they are no longer shiny, and it works like a charm. Pull them out, let them cool, then find your favorite chocolate icing. Here's mine...


Put a dab of icing on a pretty plate to hold the cake.


Then turn one cookie cake face down on the plate...


Cover it in icing.


And place the other cookie cake on top. The result is the best cookie cake ever.


Really you could use any chocolate chip cookie recipe, but here's mine because I think it's the best. To each her own, though.

41/2 c. flour
2 t. salt
2 t. baking soda
2 c. butter flavored Crisco
2 c. brown sugar
1 c. white sugar
3 T. vanilla
1 t. water
4 eggs
18 oz. chocolate chips

Bake for 9 min @ 375

For cookie cake bake 15-18 min @ 375
And you'll need chocolate icing.

Enjoy!
:j

Monday, February 08, 2010

The Hall Bath

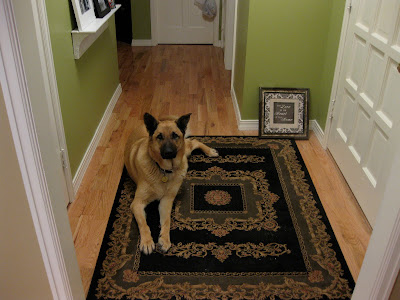
Green is my favorite color; all you have to do is walk into my house to figure that one out. My entry way is pea-soup-green. I love it, and so does Kody.


I have to say though, the teal-ish green tiles that were originally in my bathroom when I bought my house were not my kind of green. I didn’t hate them, and was fully prepared to work with them, but they weren’t what I wanted. Thankfully, I was able to score a ton of tile at a construction auction making it a lot easier (and cheaper - less than $30 with enough to do my mud room and bathroom) to say good-bye to the bathroom that hadn’t changed since 1952.


I actually didn't realize there was no shower, and just a bath tub the first time I walked through. Dad pointed it out to me when we were there for the inspection. I was just looking at the potential :) 


This was the first room in the house we finished. We started it mid-September when I bought the house and Mom put in the finishing touches in mid-October while I was in Nepal as a birthday gift.

Dad drew my plans for the custom vanity right on the wall. 


See the border that was around the room in the mirror's reflection? Classic 1952.

My grandparents and I both worked on tearing out the tile. We were careful because we weren't sure if we'd want to re-use it later. It is currently in my attic, but there are no plans to reuse it right now. It may be on it's way to Habitat for Humanity Re-Store. This is what a wall looks like after all the tile had been removed:


After we tore out the tile, Dad re-sheetrocked, and it was time to re-tile. I had this idea for built in cubbies in the shower. As he was working on them, Dad informed me that this made me high maintenance. Apparently they weren't the easiest thing to create. Luckily, he had my Uncle Wayne to help him.


Now time for the big reveal....


A friend of my dad's made the cabinet, then Dad painted it and made the formica top.

I brought in some green-glass-tile to compliment the white tile I got at the auction. I love green.

We used black hammered paint on the mirror and light fixture. I got the light fixture for free from Craigslist and the mirror was in gma's basement. They were both originally "builder's brass," but now they are boldly black.


One of my favorite things about the cabinet is the deep drawer on the bottom right and the width of the other drawers.


Yikes! That's a lot of make-up, especially for a girl who hardly even wears make-up. I guess I like the security of knowing it's there if I feel the need to use it. The front basket is all make-up brushes. I love my make-up brushes.

Grandma got this faucet at a garage sale for $5! I love how tall it is.


We got this shower curtain at a garage sale too, then had the "C" embroidered to give it a nice custom touch. 


So for about $500 and a lot of man hours I got a whole new bathroom that I love!!
------------------------------------------
On another note, Kelly @ Kelly's Korner recently posted this post about "cardboard" testimonies. Here's the video she posted:


The video is powerful, but the comments on Kelly's post spoke to me even more. People who had experienced cancer, infertility, doubt, depression and many other valleys in life still praising the Lord for the great things He has done.  I encourage you to read through some of the testimonies written there. I love how to the point they are. In just a few brief words, the power, grace, and love of Jesus is shown. 

Feel free to share your own here or there. 
-Jenny